Load spatial tables
The main dialog finds every table you can access that has a GEOMETRY or GEOGRAPHY column, and adds it to the map.
Steps
- Open Plugins → Databricks DBSQL Connector → Connect to Databricks SQL and pick your connection under Saved Connections.
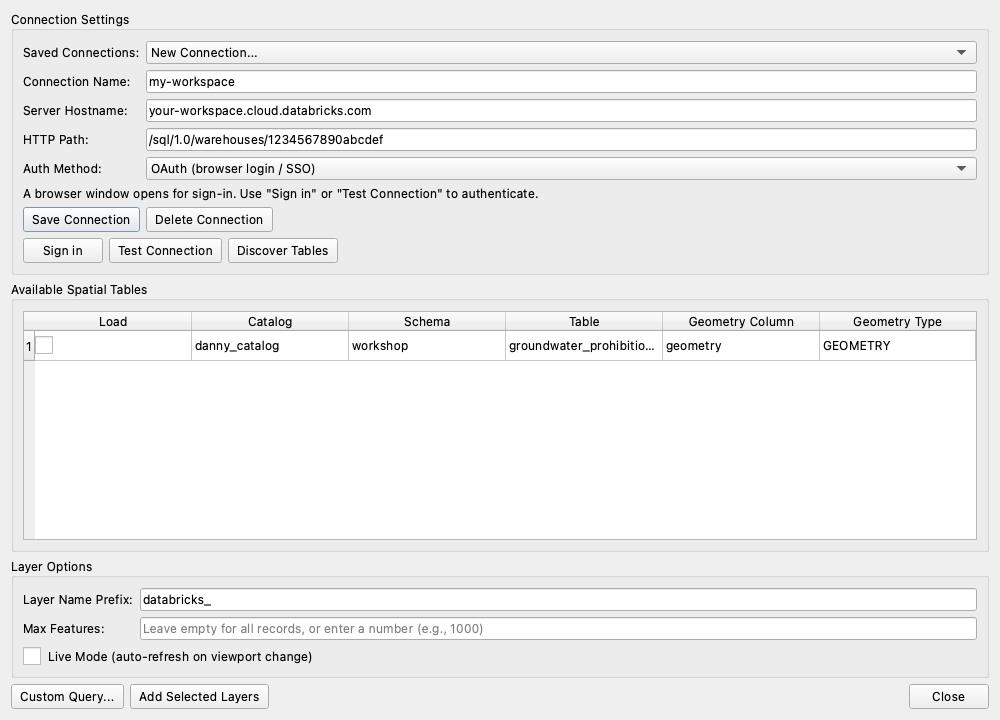
- Click Discover Tables. Available Spatial Tables fills with each table's Catalog, Schema, Table, Geometry Column and Geometry Type.
- Tick Load for the tables you want.
- Set the Layer Options:
- Layer Name Prefix: added to each layer name (default
databricks_). - Max Features: leave empty to load everything, or enter a number (e.g.
1000) to load a sample first. - Live Mode (auto-refresh on viewport change): tick to load only what's on screen. See Live layers.
- Layer Name Prefix: added to each layer name (default
- Click Add Selected Layers.
Each table becomes a layer in the Layers panel. To zoom to it, right-click the layer → Zoom to Layer(s).
Good to know
- Mixed geometry types: a table holding points and lines or polygons is split into one layer per type:
<prefix><table>for points, plus<prefix><table>_linesand<prefix><table>_polygons. - Layer data is a snapshot. Layers added here hold a copy of the data. To re-load from Databricks, select the layer and choose Plugins → Databricks DBSQL Connector → Update Layer Data from Databricks.
- Big tables: use Max Features or Live Mode so you don't pull millions of rows into QGIS at once.
- Keep a layer in your project: layers added here are temporary copies and aren't kept when the project is closed. To save a layer in the project that re-queries Databricks on open, use Custom Query → Save in project. A simple
SELECT * FROM catalog.schema.tableworks.
No tables found?
- Check you have
SELECTpermission on the tables in Unity Catalog. - Make sure the tables really have a
GEOMETRYorGEOGRAPHYcolumn. Tables with latitude/longitude numbers can be mapped with a custom query instead:ST_POINT(longitude, latitude, 4326) AS geom.